Instant Accept POS Settings
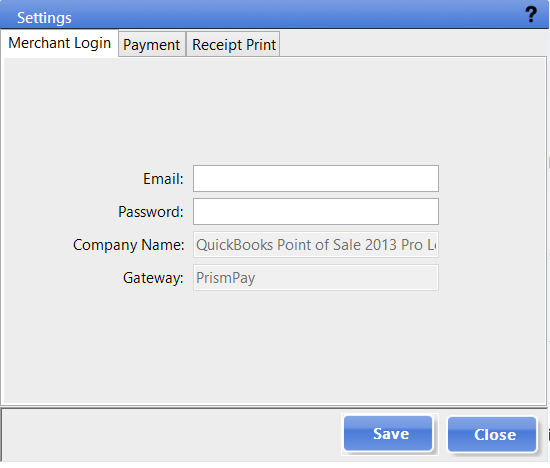

- Payment Processing
- Write AVS in comment in sales receipt:
- Your receipt will reflect address verification is turned on.
- Process payment on card swipe:
- Instant Accept automatically processes the payment after swiping the card.
- Allow credit card to be credited:
- Process refund without a receipt.
- See option 2 under the refund section.
- To fully enable this feature please contact Instant Accept support.
- Process refund without a receipt.
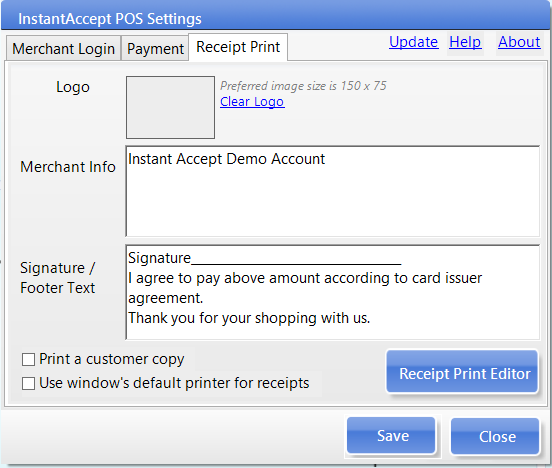
- Print receipt when transaction completes:
- InstantAccept receipts print automatically after the transaction is processed.
- Zip code is required for payment processing:
- You have the option to enforce typing in the zip code when processing a payment.
- Write AVS in comment in sales receipt:
- Payment Method
- Your processor must approve both of the following options and it must be indicated on your account.
- Enable Credit Card:
- Check the box to choose to accept credit cards through Instant Accept.
- Enable eCheck:
- This is where you can choose to accept echecks through Instant Accept.
- Enable Credit Card:
- Then click “Save”.

- Your processor must approve both of the following options and it must be indicated on your account.