Issue a Refund Within QuickBooks Point of Sale
Issuing a Refund in QuickBooks Point of Sale
Option 1 - Need to refund a transaction?
Walkthrough this tutorial about issuing a refund.
- Click on the “Sales History” icon in the center top of your QuickBooks Point of Sale screen.
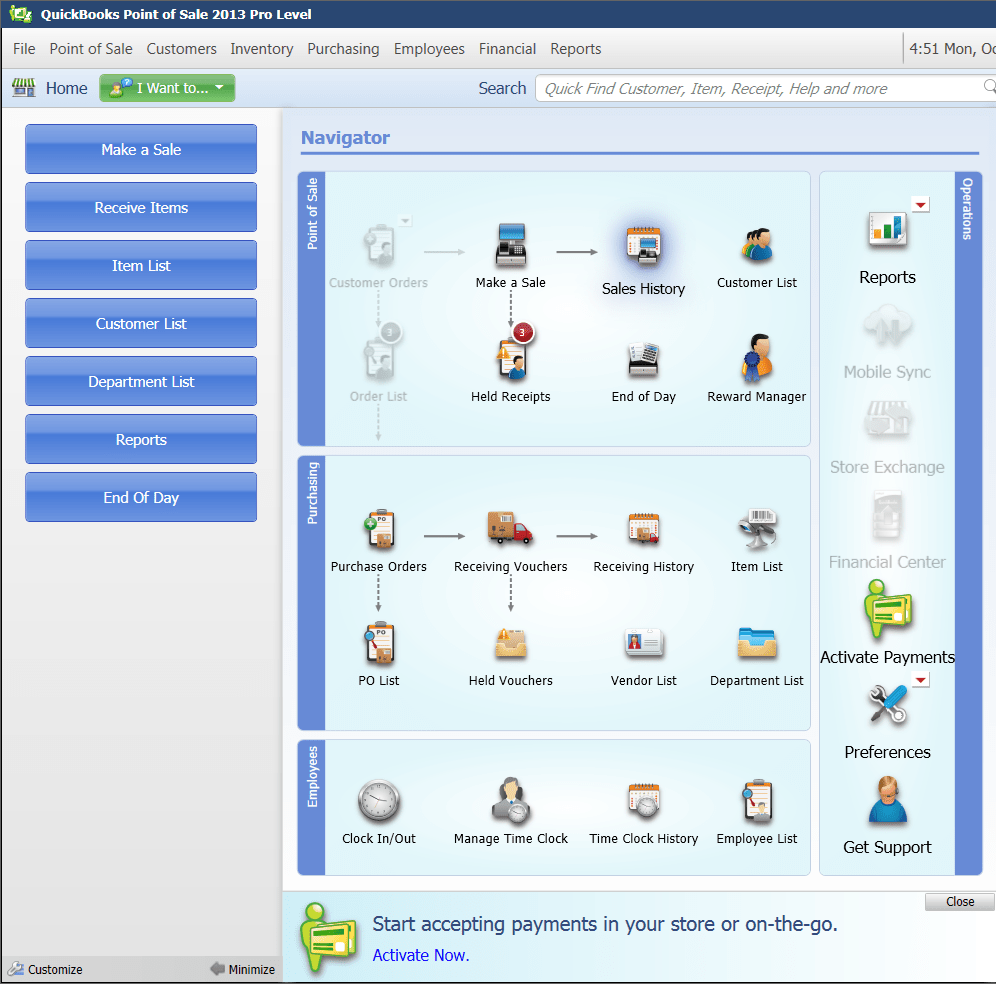
- Go to the top center of your QuickBooks Point of Sale screen. In the “Search” box.
- Type in the customer name or your customers receipt number.
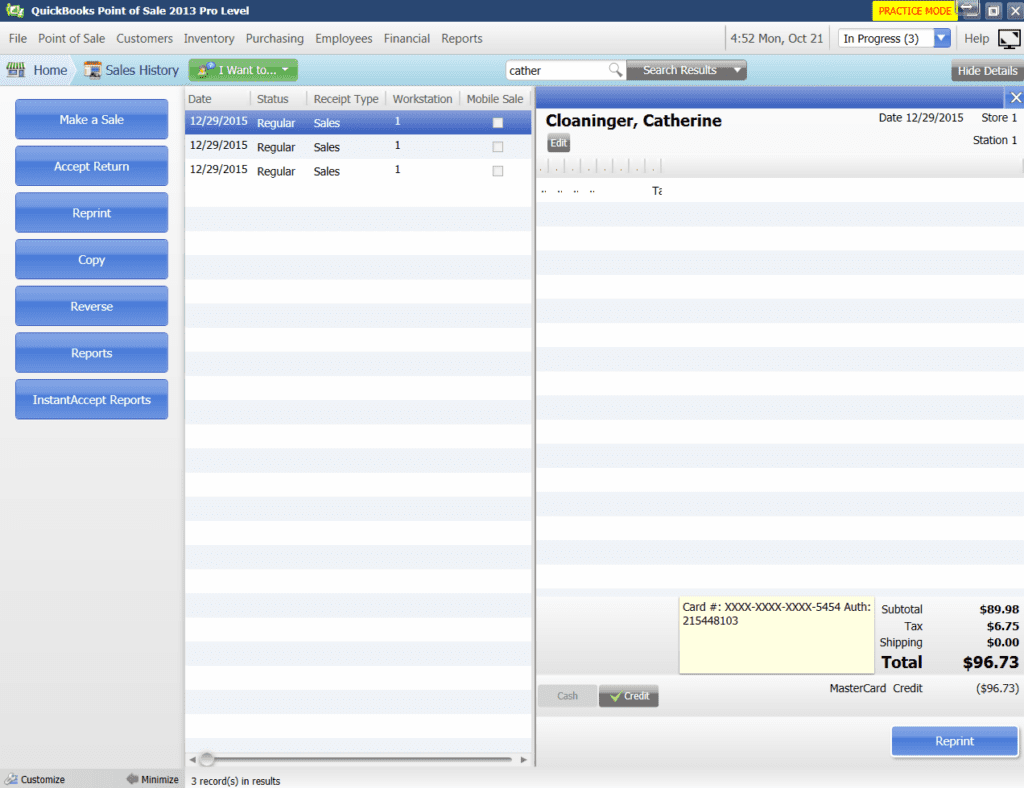
- A pop up window will open with the information relevant to your search.
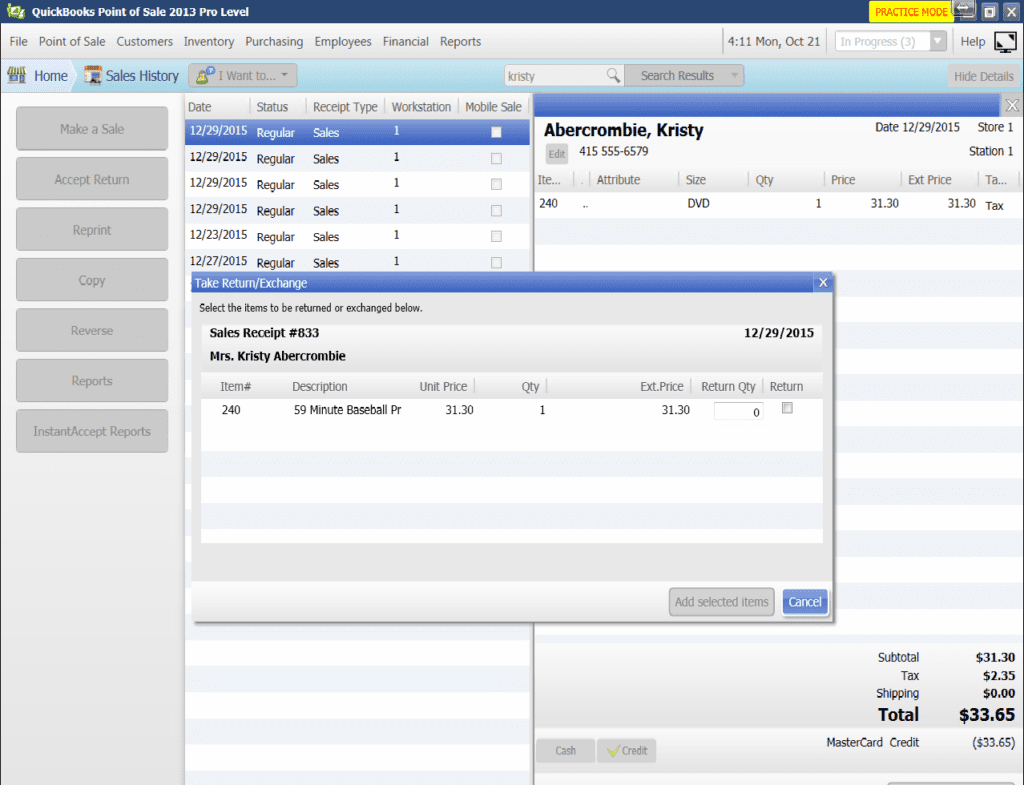
- Within the pop up window, Click once on the item(s) you would like to return.
- Click the “Add selected items” button.
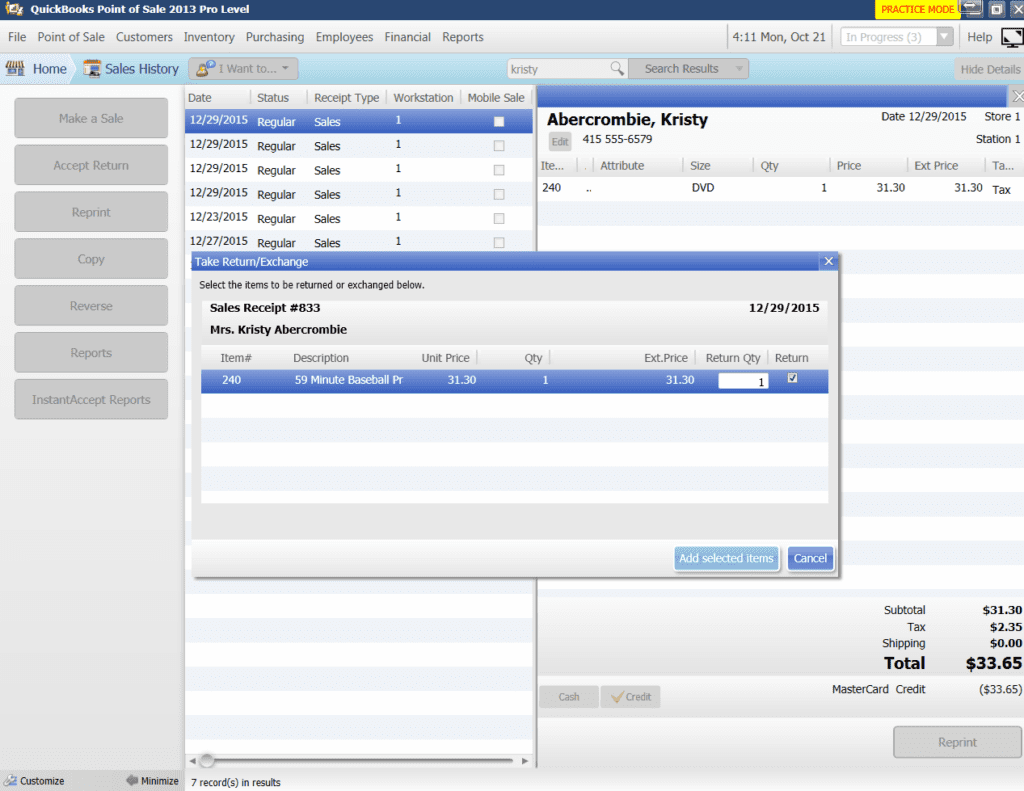
- Click on the item(s) you would like to return.
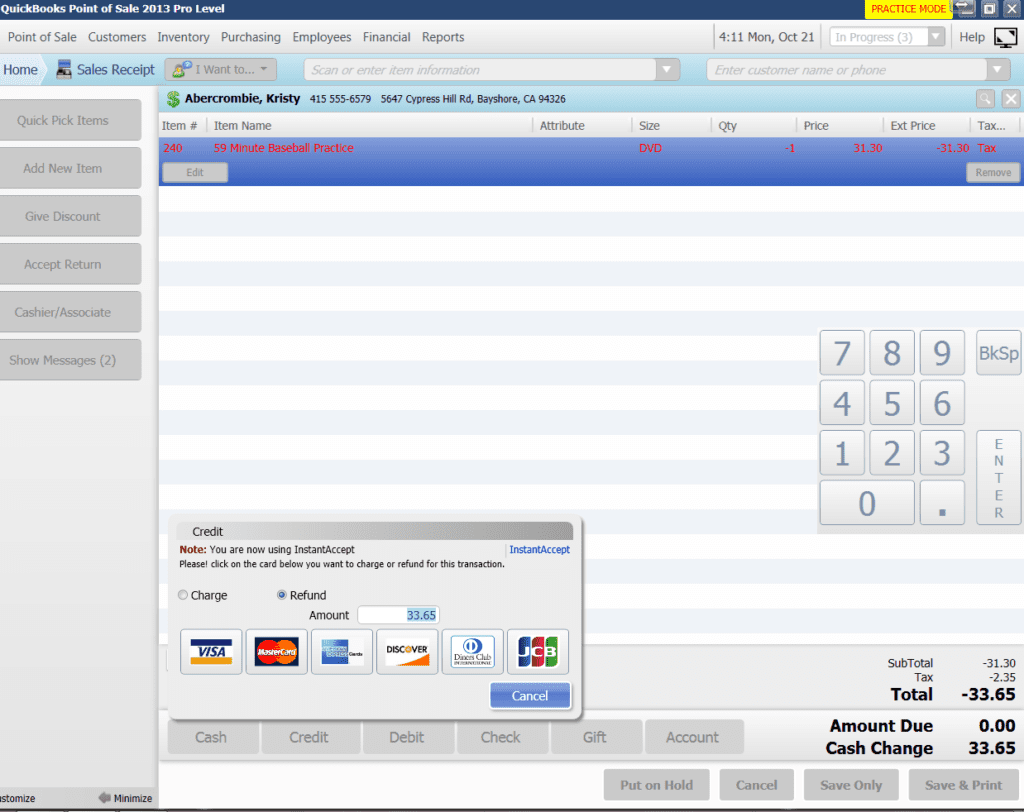
- A pop up windows will open up stating “You are now using Instant Accept.”
- Select “Refund” in the pop up window.
- Enter amount of refund in the “Amount” Box
- Select the “card type” icon used for original transaction.
NOTE: This must be the same card used for the original transaction. - Press “Enter”
- Verify Refund Information Screen. A pop up window will show information you have entered.
- Verify that your information for the refund is correct before clicking “Refund”.
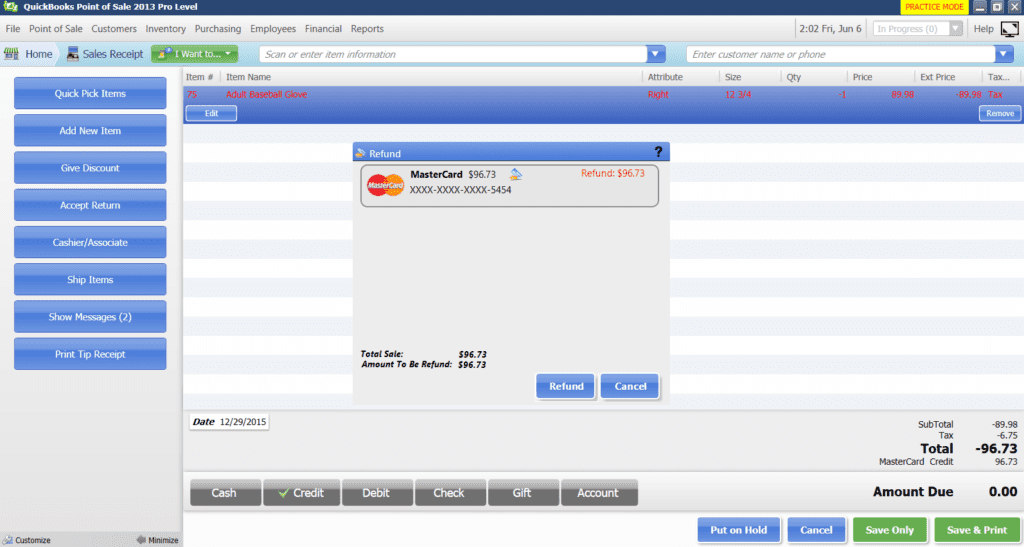
- The pop up window will then show the ‘Credit ID Validation Number”.
- Click the “Close” button.
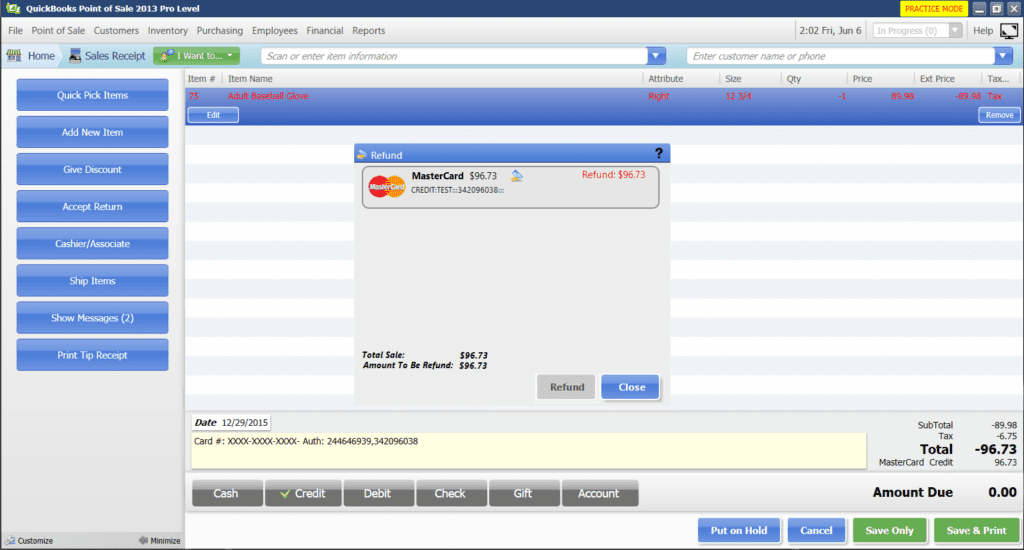
- Click ‘Save Only’ or ‘Save and Print’
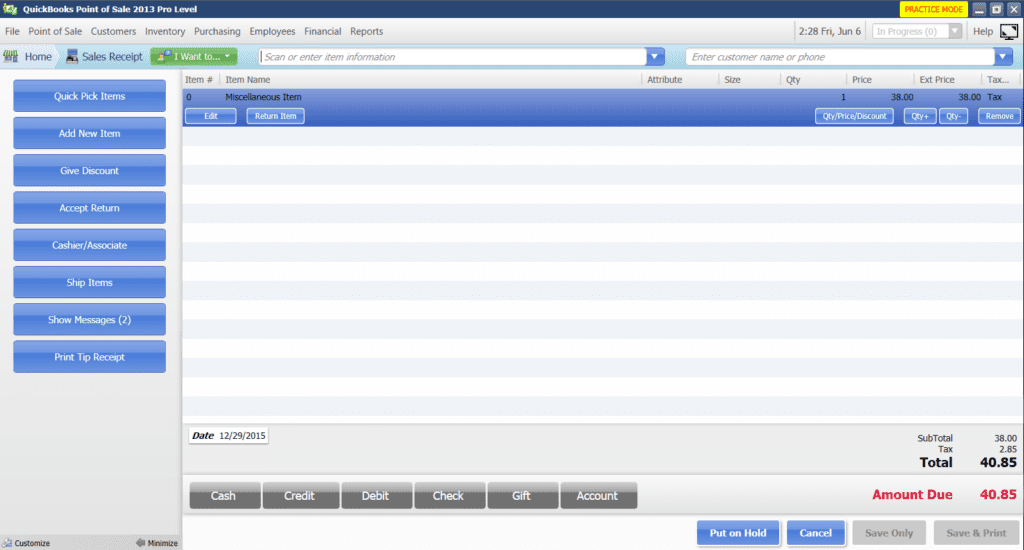
If this walk through does not help you try walking through the steps again or contact our technical support team or call (855) 220-2840.
If you found yourself here and are not currently a customer, click the button below to request a free one on one demo.
Instant AcceptInstant Accept, Instant Accept Legacy, Instant Accept V1.0, Point of Sale, QuickBooks Integration, QuickBooks Point of SaleInstant Accept POS Tutorials, Instant Accept POS Walkthroughs, Issuing a Refund, Refund a TransactionNo Comments on Issue a Refund Within QuickBooks Point of Sale

